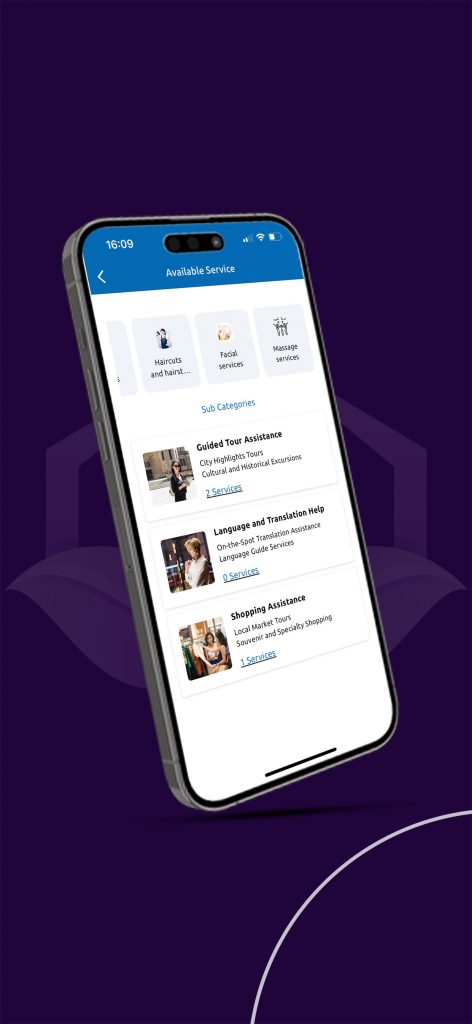
TURK GUZELI – BOOK YOUR BEAUTY
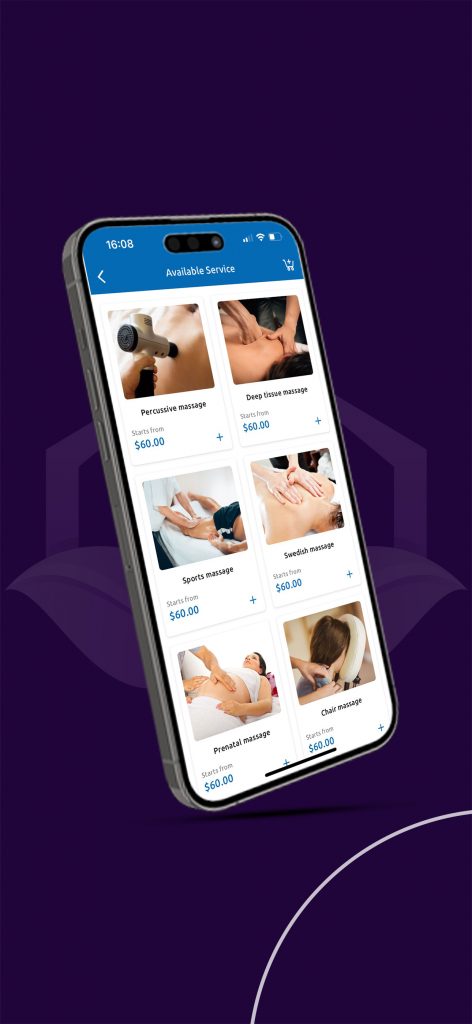
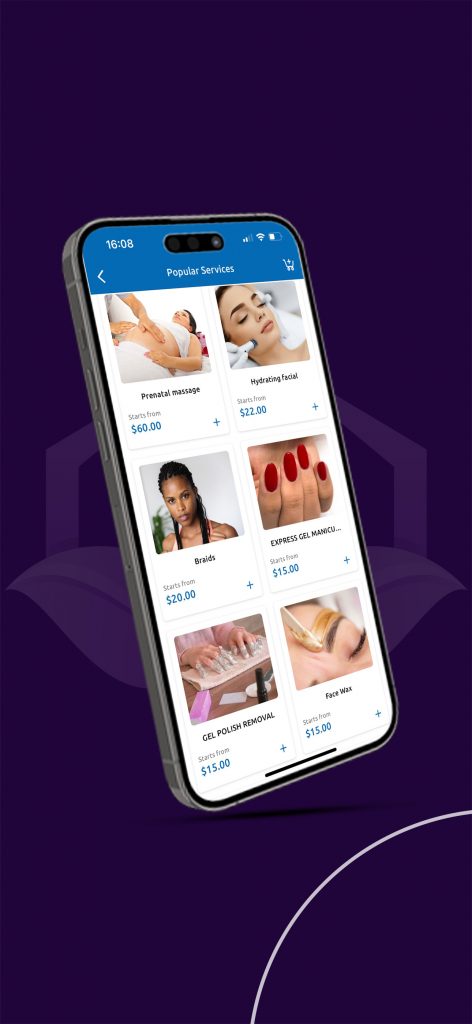
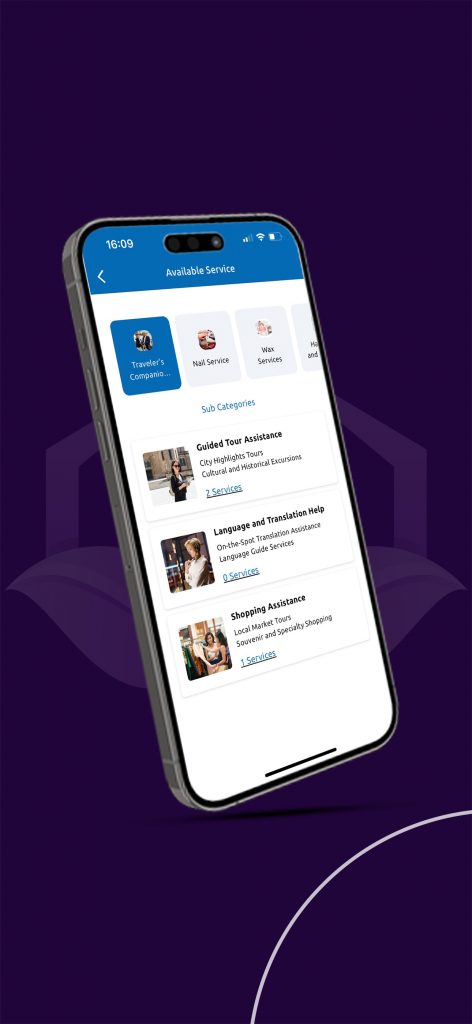
TURK GUZELI – BOOK YOUR BEAUTY SESSION ONLINE IN TURKEY
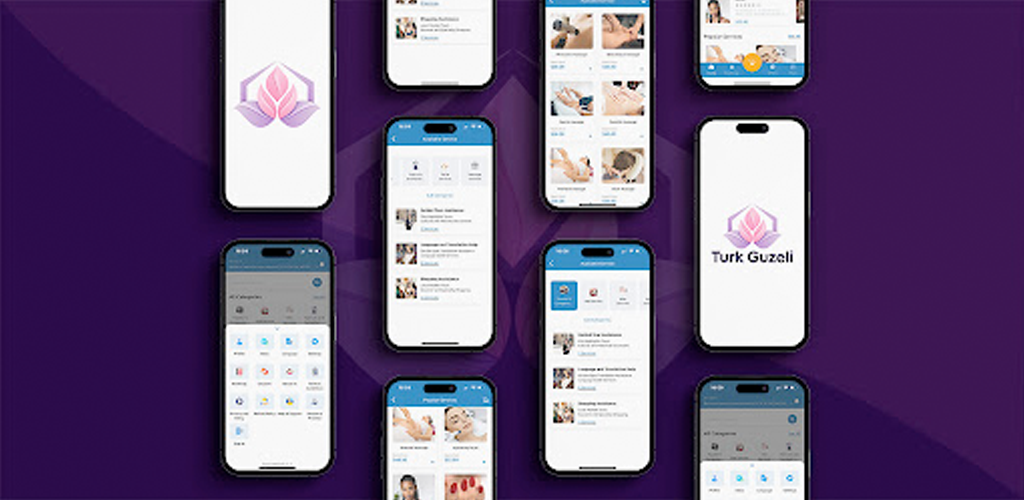
APP Available only in Turkey .
Development : Naro Dev


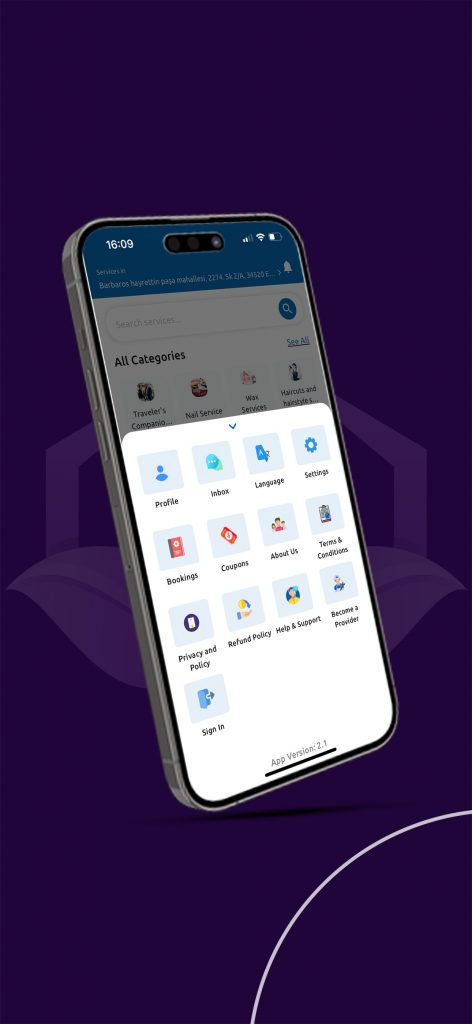
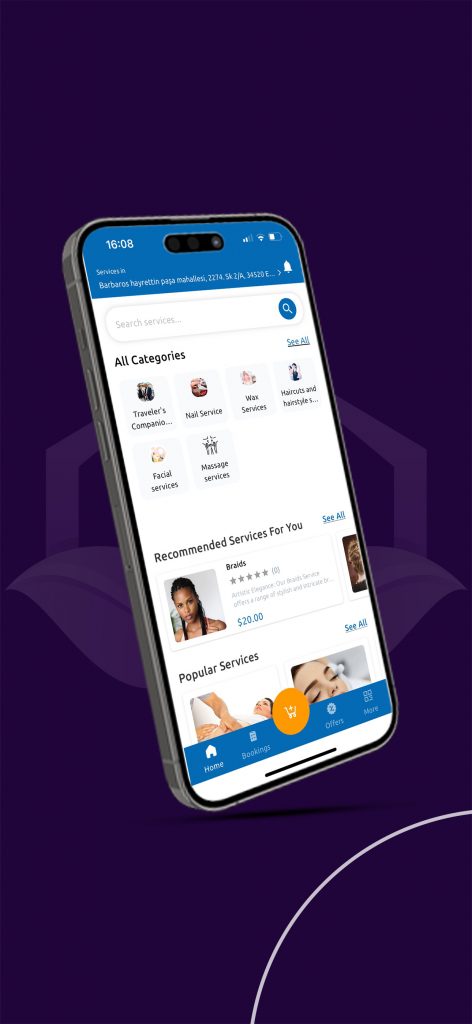
TURK GUZELI – BOOK YOUR BEAUTY SESSION ONLINE IN TURKEY
APP Available only in Turkey .
Development : Naro Dev
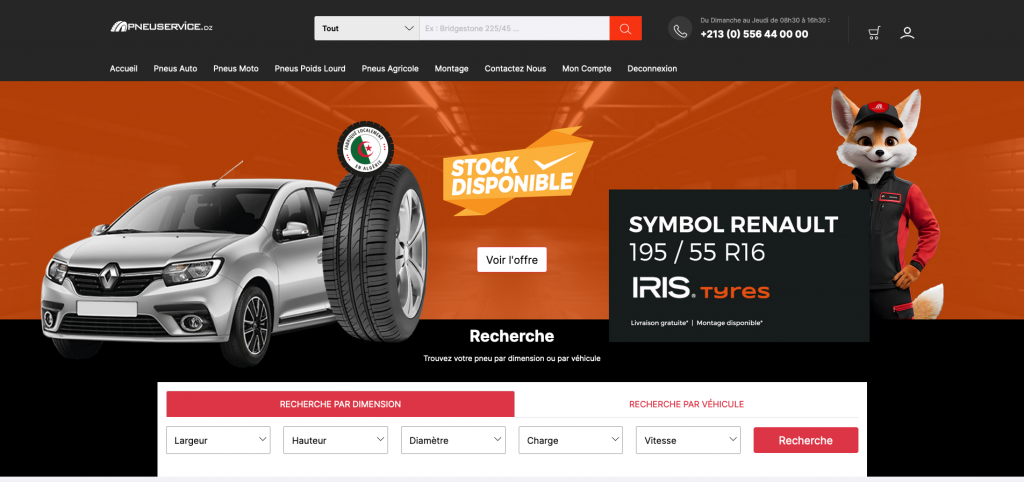
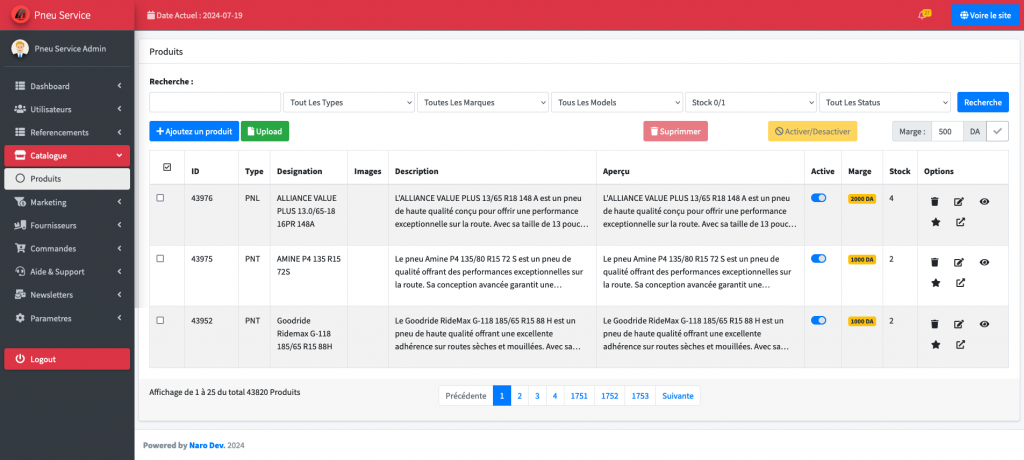
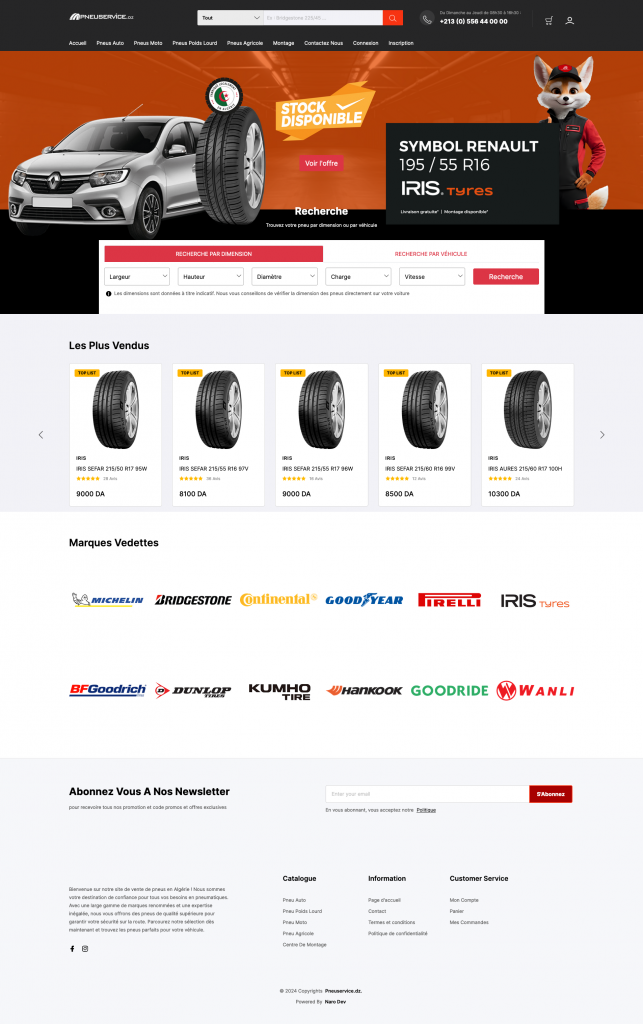
Pneu Service Dz – Vente En Ligne Des Pneus

Development : Naro Dev
Garphics : Graphéin


A Narodev Creation :
– Amine G –
– Ilyes A –
– Mohammed .N.B –
Fetch API has become the standard for web API requests for a while now and it is supported in almost any modern browsers nowadays. Let’s use Fetch API and implement it for the web
Previously, there are many existing solutions for handling API requests for the web, ex. jQuery Ajax, request (node), axios (node) … why there needs another?
Fetch API is the standard API being supported native in most of today web browsers.

Hmm, IE is not supported, you ask? Since Microsoft stopped support for IE, no more development for IE in future, and we will expect very less number of users use IE.
The specs of Fetch API is described here, https://fetch.spec.whatwg.org/
Check it out if you want to learn details about Fetch. In short, fetch() is being used in following form:
fetch(ENDPOINT, OPTIONS).then( response => {
    // do something with response
}).catch(error => {
    // do something with error
});
ENDPOINT is the API target endpoint that you want to make actual requests to.
OPTIONS is the Request object.
Since fetch() returns a Promise, so you can handle it in chain with then() and catch() as usual.
The data return from Fetch API is a Response object.
Aright, let’s try some examples to work with Fetch API.
Query random-user API:
fetch('https://randomuser.me/api/').then(response => {
    if(response.ok) return response.json();
}).then(data => {
    console.log('Data', data);
}).catch(err => {
    console.log(err);
});
To get actual data, we have to resolve and call response.json() in order to get actual content returned by the API endpoint.
If there is any error, you can easily handle it through Promise.catch().
By default, fetch() assumes that you use GET method. In case, you want to use other HTTP methods like POST, PUT, DELETE, PATCH… add method to the request options.
fetch(ENDPOINT, { method: 'POST' })You can put any custom header value by adding into the headers property of request options.
fetch(ENDPOINT, {
    headers: {
        "Content-Type": "application/json",
    }
)To post data, you will need to include post data into body property of request options.
So, to request JSON data:
fetch(ENDPOINT, {
    method: 'POST',
    headers: {
        "Content-Type": "application/json",
    },
    body: JSON.stringify({ name: "Pete Houston" })
})
To request form data:
fetch(ENDPOINT, {
    method: 'POST',
    headers: {
        "Content-Type": "application/x-www-form-urlencoded; charset=UTF-8",
    },
    body: "name=Pete%20Houston"
})To do this, use the credentials property.
credentials: "include"In order for older browsers to use fetch() , there is a polyfill made by Github, https://github.com/github/fetch
Fetch API is fairly simple to learn and implement into any web app. Since most of modern browsers support it, why not make use of it to cut down the cost of unnecessary cost of third-party libraries! It is a good thing for the web.
By Max Lynch
Today I am thrilled to announce the 4.0 release of Ionic Framework, lovingly known as “Ionic for Everyone.”
Ionic 4 represents the culmination of more than two years of research and hard work transforming Ionic from “mobile for Angular” into a powerful UI Design System and app framework for every web developer in the world.
There are so many things to talk about with this release, but first I’d like to talk about how we got here.
Back in 2013 when we started working on Ionic Framework, we sought to build rich JavaScript-powered components for building quality mobile apps with web technologies, and distribute them as custom HTML tags that any web developer could use in their apps.

Unfortunately, there was no standard way to do that back then, so we jumped on the next best thing: AngularJS directives. We loved that you could build custom directives in AngularJS and package up all the complexity we needed to offer native-quality components into an easy-to-use custom HTML tag. Any AngularJS template that used that tag would magically bootstrap the component and run it as if it was natively supported right in the browser. Our early experiments with AngularJS were so successful we stopped looking at alternatives and went all-in.
When Angular 2 was announced, we knew that in order to stay relevant in the Angular world, we’d need to port Ionic to it. So, we shipped Ionic 2 and 3 to do just that. I’m so glad we did, as Ionic 3 has been the most successful version of Ionic yet.
Oh, if only the story ended there!
Fast forward to 2019, and the frontend landscape looks nothing like it did back in 2013.
To start, AngularJS has been replaced by modern Angular. React, which wasn’t even on our radar back then, has achieved massive popularity. New frameworks like Vue have grown even more quickly and serve to remind us that the status quo is anything but.

So much change happened so fast that “frontend churn” became the bane of a generation of web developers.
At the end of 2017, we started asking ourselves if our original dream was worth revisiting. It was clear that frontend developers would never settle on any specific frontend framework or libraries, so to assume otherwise was futile. At the same time, we were frustrated that Ionic could only be used by those that embraced Angular. And, while we loved Angular, we hated the idea that Ionic wasn’t achieving its original goal of being a toolkit for every web developer in the world.

Luckily for us, something wonderful had happened in the frontend world between 2013 and 2018: Browsers had converged on a standardized component model, allowing developers to define custom HTML tags and easily distribute them to other developers. This collection of APIs become known as Web Components, and they were everything we had dreamed of back in 2013.
We started experimenting with turning Ionic into a set of Web Components in 2017, and we were blown away by how capable and efficient they were. In our minds, it was clear Web Components would be the way UI libraries, like Ionic, would be distributed in the future. So, we took a big bet and started porting all 100 of our components over.
Thusly, Ionic Framework 4, “Ionic for Everyone,” was born.
With today’s release, Ionic Framework is now distributed as a set of Web Components using the Custom Elements and Shadow DOM APIs available in all modern mobile and desktop browsers.

This means that practically every web developer in the world can now use Ionic’s components in their mobile, desktop, and Progressive Web Apps—just by using Ionic’s custom HTML tags in their app.
On top of that, because Ionic now targets standard web APIs instead of third-party ones, developers can rest assured that Ionic’s component APIs will stay stable for many years to come instead of falling victim to frontend and framework churn.
No longer just “mobile for Angular,” Ionic is now a modern, web-based Design System and app framework for every web developer no matter what tools and frameworks they choose to use on top.
This is the dream we’ve had since 2013, and, after six years of hard work and making some big bets on promising new technology, it’s finally a reality.
Not only is Ionic 4 the most accessible and future-proof version of Ionic we’ve ever built, but it’s also the fastest and most complete.
Every one of the nearly 100 Ionic components has been evaluated for performance, theme customizability, and platform look and feel. This includes a complete iOS and Material Design refresh for each component to match the latest standards on iOS and Android.

Since each component is now a Web Component built with our new Web Component compiler project Stencil, Ionic components are optimized for load and render performance, helping Ionic apps reach the coveted 100/100 score* on Google’s Lighthouse benchmark tool (*heavily dependent on the framework used with Ionic).
We’re going to be publishing more extensive data and benchmarks comparing Ionic load/render performance across various frameworks, but the graph above shows significant improvements on First Meaningful Paint for developers using Angular with Ionic 4, and this is just the beginning.
Finally, we’ve dramatically improved the design for all new app starter templates, to help developers get to great design faster than before.
Progressive Web Apps are all the rage right now, and Ionic 4 was designed out-of-the-box to be the best UI framework for building high-performance PWAs.
For Ionic to reach performance standards set by Google, new approaches for asynchronous component loading and delivery were needed. To achieve this, we spent a year building out a web component pipeline using Stencil to generate Ionic’s components, ensuring they were tightly packed, lazy loaded, and delivered in smart collections consisting of components you’re actually using.
Today, Stencil-built components lead the pack in terms of bundle size and load performance, and Ionic 4 benefits from all of that.
Of course, you’ll likely be using Ionic with a separate frontend framework like Angular or React, so we will be publishing some guides shortly about how to pick the right technologies to reach Progressive Web App performance standards, since reaching performance standards with Angular and React requires some additional work.
One of the biggest changes under the hood is the move to using native CSS Custom Properties, also known as CSS Variables, in each component.

CSS Custom Properties make it possible to expose a “public theming API” that provides structure to developers that wish to brand and customize Ionic’s components, in a way that supports easily upgrading to future versions of Ionic without introducing compatibility issues. CSS Custom Properties also provide a standardized way to theme Ionic apps independent of the frontend framework used in your app.
This means developers no longer have to modify the internals of Ionic’s Sass/CSS styles or inspect to find internal classes to override. Modifications now happen by targeting Ionic’s public theming API through the published, documented CSS Custom Properties.
This represents a significant improvement over the style modification process web developers have had to work with, in the past, which often restricted developers from being able to upgrade to new versions due to reliance on internal style modifications.
One of the things Ionic developers often tell us is that Ionic has some of the best developer documentation around.
We take incredible pride in that, but we also knew that our old docs could be improved in a number of significant ways.
Today we’re launching version 0.5 of a major revamp for the official Ionic Documentation, which along with dramatically improved performance also includes a simpler design, focused on content, and an easier-to-navigate organization.

We’ve also consolidated the API reference and the component reference, reducing the number of pages developers have to flip between to get the information they need.
We’re not quite done with the final version of the docs, but we’re releasing a version 0.5 today that has most of the content and API references filled out.
Check out the new work-in-progress docs.
With new theming capabilities and a focus on framework-agnostic web components, Ionic is ready to be the foundation for your own Design Systems, essentially building your own Ionic on top of Ionic.

We dug into this on the blog last week, so take a look if you’re interested in building a cross-platform, web-standards based Design System for your company.
Back when Ionic 2 was built on top of Angular and modern JavaScript tooling was just emerging, Ionic had to figure out and build a fair amount of tooling in order to compile and bundle modern Angular apps. Not to mention, solutions like Angular Router were still in development and were not yet ready for Ionic to use for navigation, so we had to build our own.

With Ionic 4, we now use your framework’s official tooling for building, bundling, and routing, so you can get the most out of your framework’s ecosystem and we can focus on what we do best.
That means you’ll use the Angular CLI when using Ionic with Angular, Vue CLI with Vue.js, and so on.
Read more about this on our blog.
Ionic is moving to a “bring your own framework” model, and because Ionic’s UI controls are now based on Web Component APIs, they can generally work out-of-the-box in all major frontend frameworks (Angular, React, Vue, etc.).

However, Ionic also needs to integrate with a framework’s routing
system for a first-class native navigation experience, so we still have
to ship framework-specific functionality. Additionally, developers on
each framework expect things to work a specific way that sometimes
deviates from the way they are done with plain Web Components (like
React devs expecting MyComponent vs my-component).
Our official Vue.js and React bindings are currently in alpha and you can expect them to be a big part of the Ionic 4 developer experience going forward. We are incredibly bullish on these two frameworks and expect that the majority of Ionic developers will eventually build apps with one or both.
If you’d like to try the alpha versions today, take a look at the React README and the Vue README in our repo. Don’t worry, we will make it way easier to use these projects soon.
Lastly, we dug into how Ionic Vue was created on our blog. Take a look if you’re interested in how this project came to be.

Over the last two years, we’ve been intensely focused on making Ionic the most future-proof, framework-agnostic, high-performance, and standards-based UI framework ever.
Now that 4.0.0 (codenamed Neutronium) is out and production-ready, we’re thrilled to be able to invest some more time in improving what you love most about Ionic: Our components.
Next on our roadmap includes desktop-specific UI support to expand the types of desktop apps that can be built with Ionic, improved keyboard scenarios (chat apps, etc), better theming options, richer animations, and more. Along with improvements to the core of Ionic, expect more tutorials and guides on migrating to and building with Ionic, now that we feel confident going all-in on this brave new version of Ionic Framework.
Additionally, we are excited about making React and Vue support first-class in Ionic and expect that these frameworks will become a significant percentage of the frameworks used in Ionic apps, so watch for updates on those in the near future.
We will also be working to incorporate our new Cordova alternative Capacitor as an option for new Ionic projects in the CLI. Stay tuned for more on that this year.
Before we leave, we want to extend a huge “thank you!” to the entire Ionic community. We’ve been teasing Ionic 4 for a while now, and in an ecosystem filled with change and uncertainty, we are grateful to have had your trust and patience throughout the entire process.

We also want to thank the Ionic community members who took a big bet on Ionic 4 and shipped real apps even though it was alpha and we said very clearly it wasn’t production ready .
Teams like Sworkit, built and shipped entire new versions of their app with Ionic 4, and we’ve been working directly with enterprise teams that are doing the same. With Ionic 4 going into a production-ready state, the pressure release valve has been opened and we are excited to see other teams start building with it.
Last but not least, we want to thank the wonderful contributors that have stepped up to help Ionic 4, whether that was by submitting PRs, helping test new releases, or creating educational content for the community: None of this would be possible without your help.
Getting started with Ionic 4 is easy. Follow the Getting Started Guide, or create a new project directly from the Ionic CLI:
npm install -g ionic # Update the Ionic CLI
ionic start awesome-app
For teams looking to migrate from an older version of Ionic to Ionic 4, we can help! Along with a fully-supported version of Ionic Framework for Enterprises building mission-critical apps (including Cordova/Capacitor native plugin support!), we have Advisory Services available for teams that need assistance. Plus, we’ve also published a Migration Guide for self-directed migrations, along with some tools to help ease the process.
Over the past ten years, we have heard much about the security of web applications, and the threats that can come from using them. For better or worse, modern businesses have become increasingly dependent on the use of web applications developed agile; from complex infrastructure systems to IoT devices.
Attacks on web applications provide intruders with ample opportunities such as:
-Access to a company’s internal resources and sensitive information;
-The opportunity to disrupt the functioning of an application or bypass business logic;
-Financial gains for the attacker, and losses, both financial and reputational, for the owner of web applications.
Users of web applications are at risk, because if an attack is successful, the intruder can steal credentials, perform actions on websites on behalf of users, and infect a system with malware. To avoid such situations it is important to take the help of a solution based on premise identity and access management solution that can easily manage your organization and mitigate any security threats.
In this article, we’ll talk about the types of attacks, the ways threat actors can damage your system, and how you can protect your company’s essential data.

There are different types of attacks. They differ depending on the sophistication of the way malefactors have chosen to steal sensitive data. The most popular attacks are:
1.Implementing SQL statements
2.Running OS commands
3.Path Traversal
4.Сross-site scripting
5.Denial of service
6.Сonnecting local files
7.Implementing XML external entities
8.Downloading random files
9.Cross-site request forgery
One of the most simple ways to wangle desired data from a web app is to use brute force attacks. This approach is reliant on a user’s laziness and carelessness, which are unfortunately traits that many of us share. With Google Cloud platform vulnerability management you can avoid attacks.
As we all know, to access an app, we need to create a username and password. However, it is very seldom that one thinks hard about this task. In most cases, people enter a password connected to their email, name, surname, date of birth, etc. It becomes even worse when the employee writes the password on a post-it note and leaves it on their computer screen.
As the goal of the attack is to find a valid username and password, it’s not as difficult as we would assume for intruders to spend a couple of hours scrolling Instagram profiles of a particular organization in search of a careless photo that reveals login details.

After finding that there has been an attack, most likely you will want to reactively block the intruder’s IP address. However, we would advise you to refrain from such impulsive actions because:
-the intruder can easily overcome this by dynamically changing the IP address
-blocking a public IP may cut off other users of the same address
Another bad idea is to block those users that have failed to log in multiple times. This is a dangerous approach. A potential intruder may try many valid usernames, and you’ll end up blocking each and every one of these people. Most likely this will annoy users and deter them from using your app. A lighter version of this solution is to lock an account temporarily, with a response such as “You entered your password incorrectly a few times in a row. Try again in 30 seconds.”
Of course it is great to receive confirmation from CAPTCHA that you’re not a robot, but unfortunately this method is inconvenient. It lacks usability in many cases, and is (unexpectedly) vulnerable to attacks. In applications that prioritize user friendliness, CAPTCHA should be considered a last resort.
Analyze what kind of resources/values should be defended above all else. Money? Sensitive data? Reputation? A hacked homepage can result in the loss of all three of these and should be obviously avoided at all costs.

To eradicate a brute force attack, you need first to detect it. For this, you need to use tools for monitoring the network traffic of your web app. Pay attention to metrics and logs. The HTTP metrics should be detailed enough to determine the URL and method of each incoming request, status, and the number of produced responses. Logs will provide more detailed information about each request that cannot always be collected and presented as metrics.
Secret questions can be beneficial if you want to detect attackers without bothering the regular users of your web app. As you know, the secret question and corresponding answer are configured in a user’s profile. If a user has failed to login a few times, give them the option of answering their secret question. Make sure to also ask these questions for invalid logins, so the attacker won’t know if an account really exists or not.
During a brute force attack an intruder will make attempts with many passwords. Implementing a delay between failed login attempts can dramatically decelerate the whole process, making it too time-consuming for an attacker. The additional latency won’t bother real users.
In a brute force attack, some penetration testing tools may be used, like THC-Hydra. These programs send requests with a User-Agent header set to a default value. This is a tell-tale sign of an attack tool.
By randomly returning the 200 status responses for requests with such header, an application can fool the attacker, who will no longer be able to distinguish between correct and failed attempts. It’ll work on amateur hackers who don’t know how to modify Hydra’s request headers. Note this isn’t a fully secure solution as request headers can’t always be relied on.
Many of the attacks committed nowadays are not particularly ingenious and can be easily avoided or detected by following the aforementioned pieces of advice. Nevertheless, we can’t get complacent. The technical expertise that modern cybercriminals possess make it possible to carry out attacks with a high level of complexity, including through a series of actions that occur at different times and at first glance do not seem related.